Showing posts with label Echo Park. Show all posts

Friday, April 25, 2014

World Premiere

Hi friends! Today I have a layout I made of the photo I used to introduce Henry to the world... his first Facebook photo! Hey, like it or hate it, it's a great way to keep up with family and allow them to see photos like this that they might not otherwise have had access to. I know my family members really appreciate seeing the updates of our lives. I titled it "World Premiere" ;)
I used the Echo Park Bundle of Joy (boy) pack for this layout. This is the second layout I have done from this kit, and I could probably get at least a couple more as well as some cards. I just love using kits because you have so many pages that are pre-coordinated for you and then they throw in cute stickers, alphas and journaling cards to boot. It makes it so easy to just slam out a bunch of cute layouts in a short amount of time. This layout probably took me under 30 minutes.
I worry sometimes about doing tone on tone with the title because I'm afraid it won't stand out, but I really like the look of it. 
I threw in a couple cute journaling cards and some fun stickers and voila! All done! 

Saturday, April 19, 2014

All Bundled Up for True Xoxo Scrapbooking

Hi all! I was honored to be selected as a guest Designer over at True XoXo Scrapbooking this month. If you haven't checked out this blog, you definitely should. Every month they have a new challenge that involves scraplifting the work of a Design Team member. I think this is a really fun idea because for one, it is different than the usual sketch or theme challenges. For two, there are so many ways you can scraplift someone's work- you can take their project and use it as a sketch, or get inspired from a design element or color scheme. Or even just go off the subject matter of the original layout. There are so many possibilities and it is such a unique way to get inspired. Here is my layout: (Sorry again for the weird shadows and color casts on the photos, I'm going to have to work on that!)
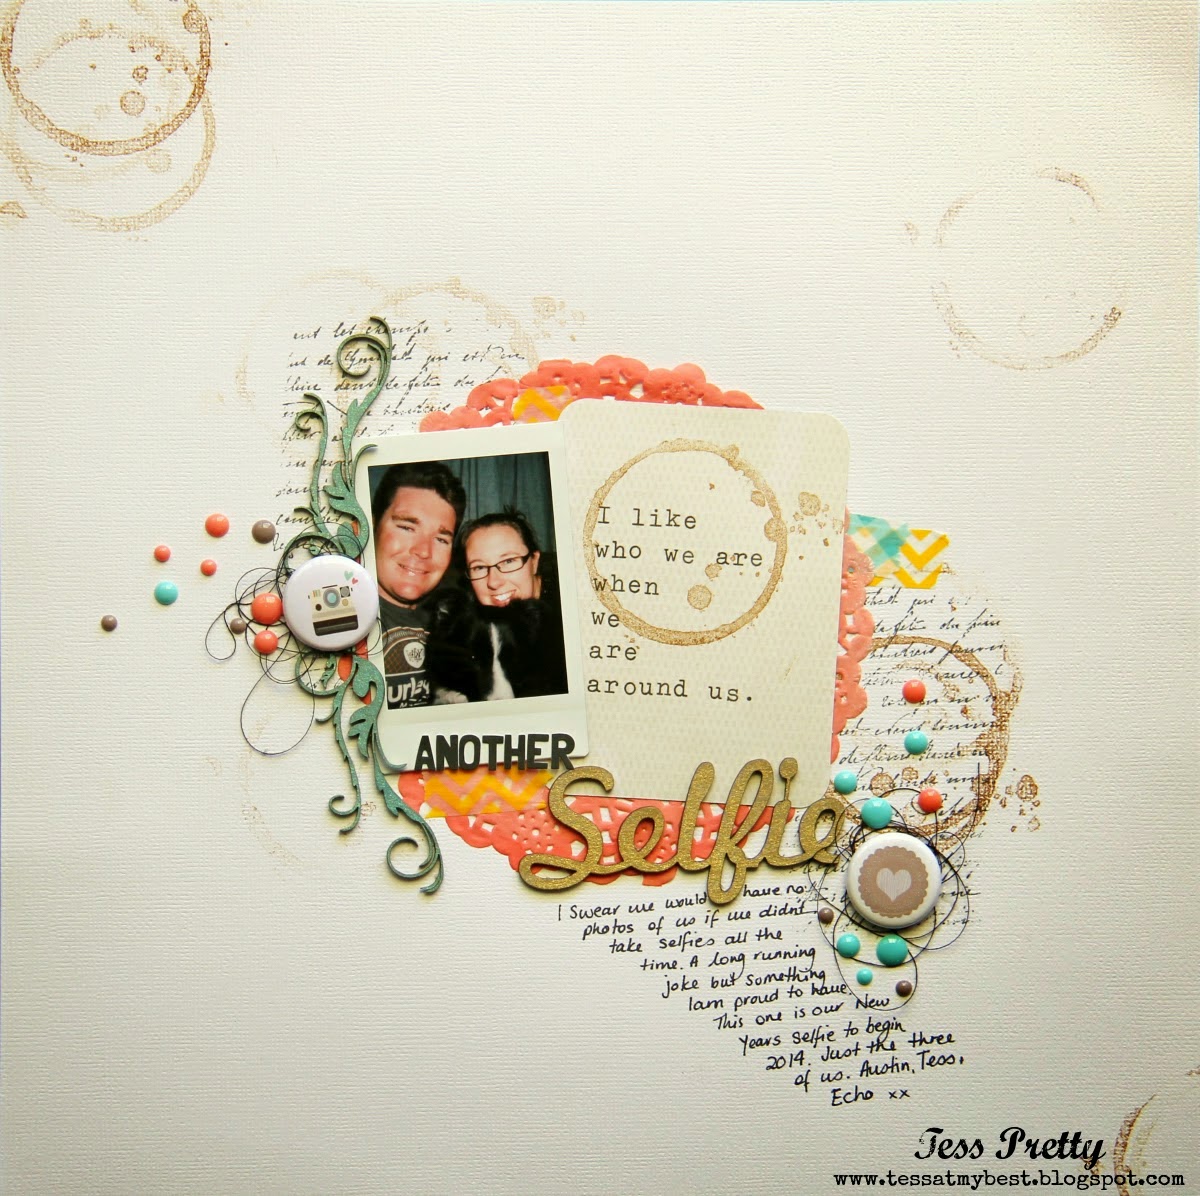
And here is the page from the talented Tess that I scraplifted:
I really love her layout and used many elements for inspiration. For one, the basic design. I used her page as a sketch, and just upsized it a bit. I journaled directly on my background paper as she did. I tried to place some of my elements where she had her coffee ring inking and I also used some enamel elements as embellishments like she did with the enamel dots.
I usually have rather large titles on my pages, so I thought it would be fun to downsize it for a change, using the letter stickers that came in the paper pack I was using- Keepin' Cozy by Echo Park. Those itsy bitsy tiny little minuscule pearl elements are from Doodlebug and I just love them. They are so tiny and cute!! The enamel arrows are from them as well.
I layered some cute washi in the upper left corner with some snowflake stickers from the kit. I also used a snowflake shape as a background element (where Tess used a cute doily) as my page had to do with bundling up from the cold.
Here I used a snowflake border (where Tess used a pretty flourish) to frame my photo and then added a cute little Nordic deer sticker.

I had a lot of fun with this challenge, and it looks like I will be joining them next month as well! They have a really talented design team and I am always inspired by their work, so I hope you will stop by and give it a try! It's a fun way to get those creative juices flowing, AND you could be picked to be a guest designer for them!!

Thursday, April 17, 2014

Mommy's Little Monster

I am really loving fun, bright colors right now. Especially for my baby boy pages. Echo Park has some great boy lines with these fun brights. I used one of their lines for this cute monster layout. I apologize in advance for the weird shadows in most of these photos. :/
We got a few shots of Henry in this adorable monster hat that his cousin made for him, so I thought a monster themed page would be so fun. Plus those little monster die cuts are just too stinkin' cute, especially for boy pages. I got to work out my new Cricut Explore quite a bit with this page, and it was a blast!
For starters I cut out a big gear shape to layer on the back of the page. I thought it was more fitting than just a circle shape. Then I picked out a cute monster and cut all the layers. I popped some of the layers up for dimension.
I thought it would be nice to use some honeycomb shapes to mirror the honeycomb border sticker I had used. Plus, I got a new honeycomb punch so I thought I would give it a workout. I haven't used a lot of punches in the past because I knew I could always cut the shape with my Cricut, and save the money on the punch. However, for some of the basic shapes that I use a lot those punches are just so much more darn convenient! I shoulda seen that long ago! I popped up every other hexagon and added some cute star stickers.
I used three different fun fonts for my title. I believe the 'Mommy's' and 'little' were fonts that I downloaded on my laptop, and the 'monster' is from the Dinosaur cartridge. I thought it worked very well for a monster page as well!
And lastly, how cute is this 'RAWR'?? I knew I wanted to put a speech bubble with 'RAWR' since it looks like he is *actually* saying 'RAWR' in his photo! Then I found this ready made one and it couldn't have been more perfect for my page! 

I hope you enjoyed my project, thanks for stopping by today!!

Monday, December 2, 2013

2 Christmas Layouts with Echo Park for Scrapbook USA Expo

Hi friends! It's that time of year again! Time to start making Christmas crafts and projects! I love how I am always so much more motivated to do projects during this time of year- gives me a chance to catch up! So I was privileged to receive some wonderful product from Echo Park. I was sent the Tis the Season paper pack. This pack has some very nice traditional elements as well as some fun, modern trends (like chalkboard!). I have included 2 full layouts that I created with the pack, but easily could finish a couple more as well as some cards! There is a LOT to work with including 2 sticker sheets and some journaling tag/card pages. There is one page that has numbers 1-25 in different fonts which would make an adorable advent calendar project. Here is my first layout:
With this layout you can see a little bit of that fun chalkboard element that is so trendy right now. The rest of the colors and patterns really complement each other very nicely.
I created a little cluster with fun stickers in the upper right of the page, and added some border stickers in the corner.
I thought this chalkboard style card was so cute I decided to use it as my title. I love when products can do double duty- really makes my layouts come together quickly.
Here is the second layout:
I cut the music style piece on my Cricut. I love that it was done in the chalkboard style as well.
I created the title using one of the cute journaling cards, and the letter stickers from the pack.
The little banner was also fussy cut from one of the pages and popped up on foam dots for dimension.

I hope you enjoyed my projects, and be sure to pick up Tis the Season for your holiday projects- so much versatility and inspiration in this pack!

Saturday, December 22, 2012

Christmas Cutie for ScrapbookPal.com

Hi everyone!! I hope you are having a festive holiday season! I am back today with another Christmas themed layout for ScrapbookPal.com! You might be aware of a very popular trend in paper crafting right now, and that is chevrons. I love this look, and have seen so many fun ways to reproduce it on projects. This is my version of a chevron look using the Teresa Collins Sophisticated cartridge! If you use the 'border' function on the cartridge there are both a zig zag and what looks like a rik rak shape border cuts. I chose the zig zag and then used my gypsy to weld two of the shapes together. Here is the end result:
My layout design was inspired by a fun sketch over at Creative Scrappers (#233) and I used some cute holiday patterned paper from Echo Park. To begin I took a basic white piece of cardstock and sprayed it with some red and green glimmer mist. I tried to depress the spray nozzle a little slower in order to get the bigger splatters as opposed to a finer mist look.
I cut the zig zag shape 5 times using different coordinating patterned papers, and then laid them out on my background page. Because the zig zags were on the thinner side, I used my zig glue pen to easily apply adhesive.
I created a little cluster in the lower left corner using coordinating stickers and embellishments.
I also used coordinating stickers to create my title. I like to use sticker letters for my title to finish my layout quickly and easily.
Lastly, I fussy cut some cute phrases from one of the patterned papers using myCutter Bee fine tip scissors, and then layered them in a cluster in the upper left corner over some fun washi tape and stickers. I adhered some of the phrases with foam dots to add some more dimension.

Thank you for stopping by to see my project today, and be sure to check out my complete ScrapbookPal.com supply list:

Saturday, December 8, 2012

Disney Dreams for Sketches in Thyme

Hello my bloggy friends! Please forgive me for posting this so late- should have been done on December 6th, but this has been a CA-razy week to say the least. Got a new job, AND an amazing new opportunity to work with DCWV as a designer. More on that later! But I did want to share the layout I created with the current sketch over at Sketches in Thyme! I actually really love this layout, and it's been done for a couple weeks now, but we've had a lot of grey days so I didn't have light to photograph it and it got pushed aside with everything else I've had going on. Well... better late than never right!!
Without further adieu, here is the current sketch- #95 - that I had to work with:
And here is my layout:

I wasn't actually on this trip to Disneyland with my adorable nieces, but the photos turned out so cute I just had to scrap a few of them. They are both such princesses, and meeting some 'real live' princesses was a dream come true for both of them.
I love buying paper collections in packs or kits- especially when they have coordinating stickers. Makes my layout very quick and easy.
The title was also done with coordinating letter stickers. These are my new go-to product. Saves so much time from cutting out and adhering each letter individually.
A few more fun stickers as embellishement...
And one last fun sticker!! I hope you enjoyed my project, and I apologize again for the lateness! Make sure you stop by Sketches in Thyme and join in on the fun!!

Friday, November 23, 2012

Sketches in Thyme # 94

Hello everyone! It's time for another awesome sketch over at Sketches in Thyme! Today we have a double for all of those double page fans! :) Here is the sketch we get to play with:
I know many of you have a preference for double page layouts, but me... I have always preferred the singles. Even when I have lots of pictures of the same event, I will just do multiple *single* pages. But that's just me- just a preference. With that said... I decided to turn this double pager into a single. That's what I love about sketches- how you can make them work for you, and your particular projects. Here is mine:
I got an ides to do something different for the 'circle' shape in the sketch from the patterned paper I was using. It had a whole sheet of hexagon shapes, so I decided to fussy cut some of them and arrange them in a circular pattern.
I utilized a lot of the coordinating stickers that came in the paper pack as embellishments, and to create clusters around the page.
I still love my Smash date stamp, and this little date banner provided the perfect option to add a date. As you may now, I am not a big journaler, and when I do I keep it short and sweet, sometimes just a date and age.
I LOVED the placement of the title in the sketch. For mine, I layered some letter stickers over some other strips. The chevron patterned paper was fussy cut and then popped on foam dots for dimension. I did the same with the other one below the photos. And then added some stickers.

Thank you so much for stopping by today- and please be sure to join us! All you have to do is create a project using the sketch and link up!!

Thursday, November 22, 2012

Happy Thanksgiving for ScrapbookPal

Hi friends! I am back with another Thanksgiving layout on behalf of ScrapbookPal.com. Today I have a fun family photo with just the girls that was taken on Thanksgiving day. I wanted to do something more whimsical and fun with it, but keep the Autumn and Thanksgiving theme.
I started with some fun fall papers from Echo Park and a sketch from Page Maps for inspiration. Here are some close-ups:
I found this burlap strip/ribbon in a local store and thought it would be perfect for Halloween and Thanksgiving projects. Because of the texture and open weave I needed a really strong adhesive to keep it on the page, so I pulled out my scor tape. It worked great. I am a HUGE owl fan, a little obsessed even, so I had to utilize all the owls that came in this pack in one way or another. This little guy was a sticker, but I added some 3D foam dots for some extra dimension, then layered another sticker underneath him.
I popped up this cute wooden pennant on some foam dots as well and layered it over a  shape that I fussy cut from one of the fun papers. I use my cutter bee scissors whenever I fussy cut anything, because the tips are so fine and sharp it makes it very easy to get in intricate and small spaces. I layered a couple of smaller strips of patterned paper on the top and bottom of the page, and ran 2 of them through a border punch. I then topped them with some matching washi tape. ScrapbookPal has a great selection of fun, colorful and on-trend washi tapes. You should definitely check it out and pick some up for your next projects.

Well, that's my project for today. Thank you so much for taking the time to stop by and take a look! And be sure to head over to ScrapbookPal.com to pick up some of these great supplies for yourself!

ScrapbookPal Supply List: